
.svg)
How to Integrate StoreTrack to Shopify?
Integrate your store location into your Shopify site seamlessly with StoreTrack. In this guide, you’ll find a step-by-step demonstration of creating and integrating the store locator in StoreTrack to help your customers find you easily.
Step 1: Setting Up StoreTrack Account
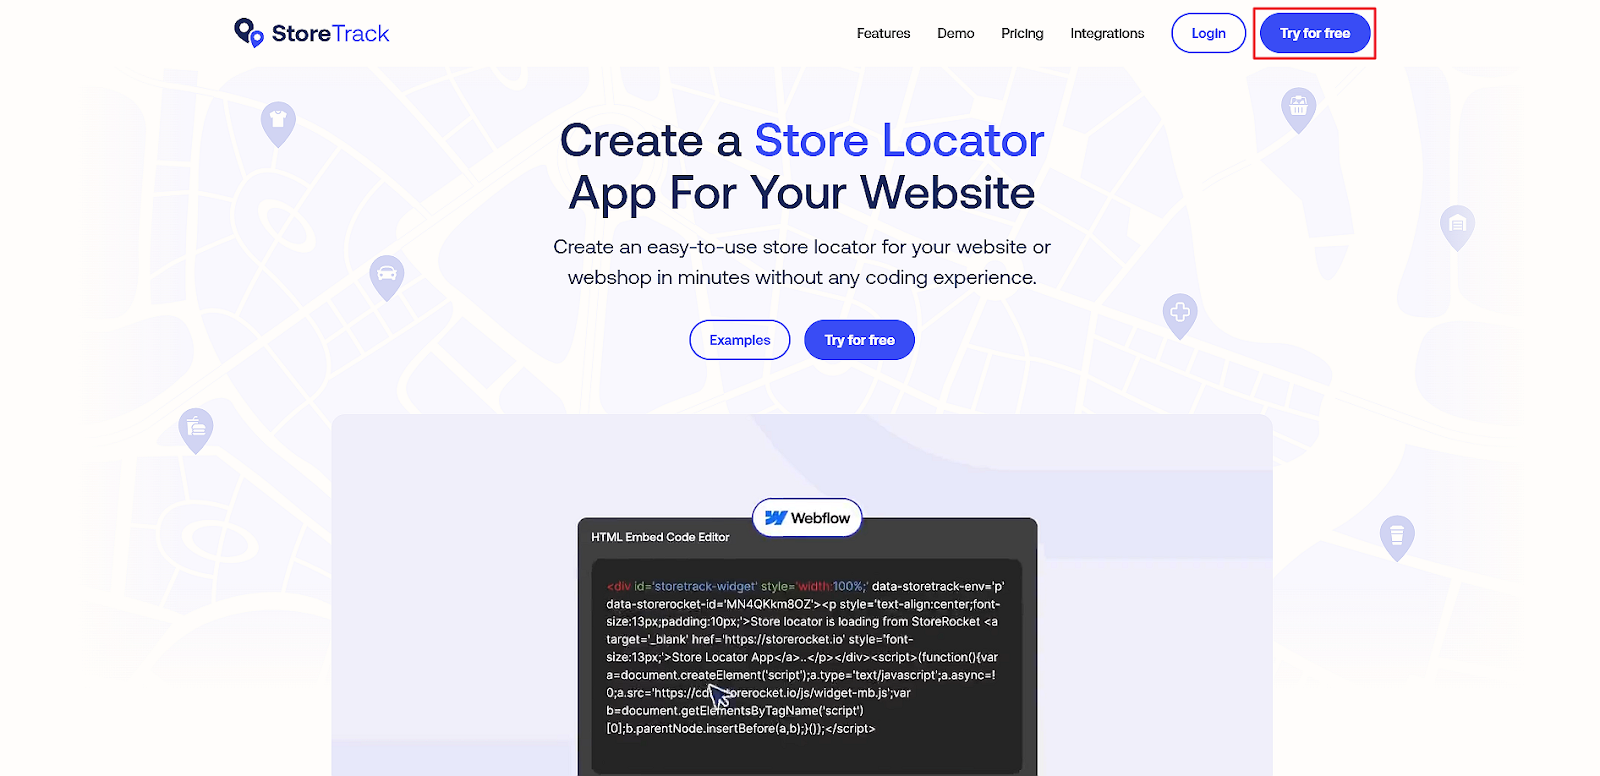
- Go to StoreTrack.
- Click on the Try for free button.
- Enter your name, email address, password, and company name.
- Click Sign Up.
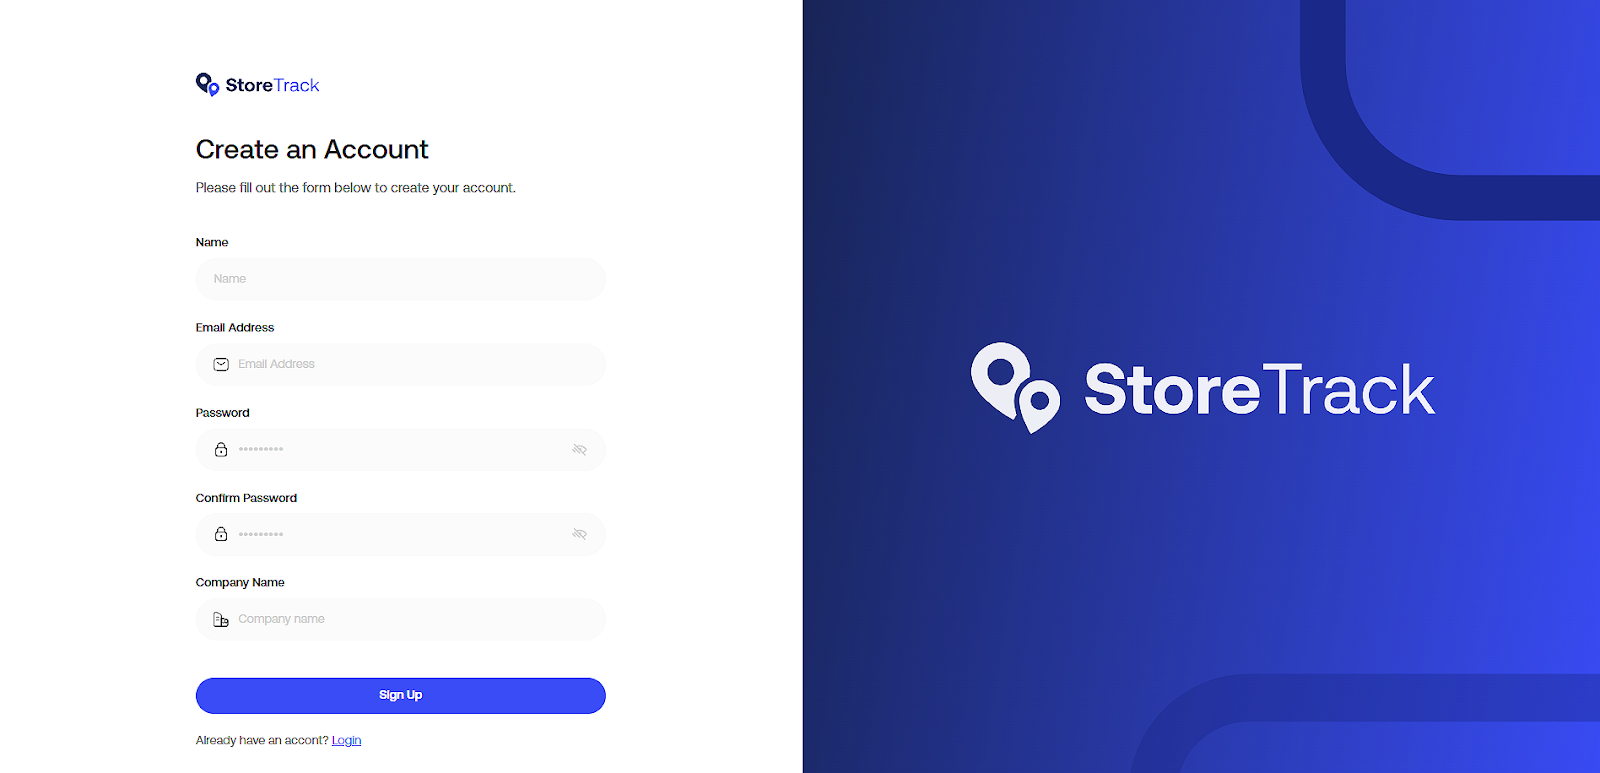
Your account will be created.
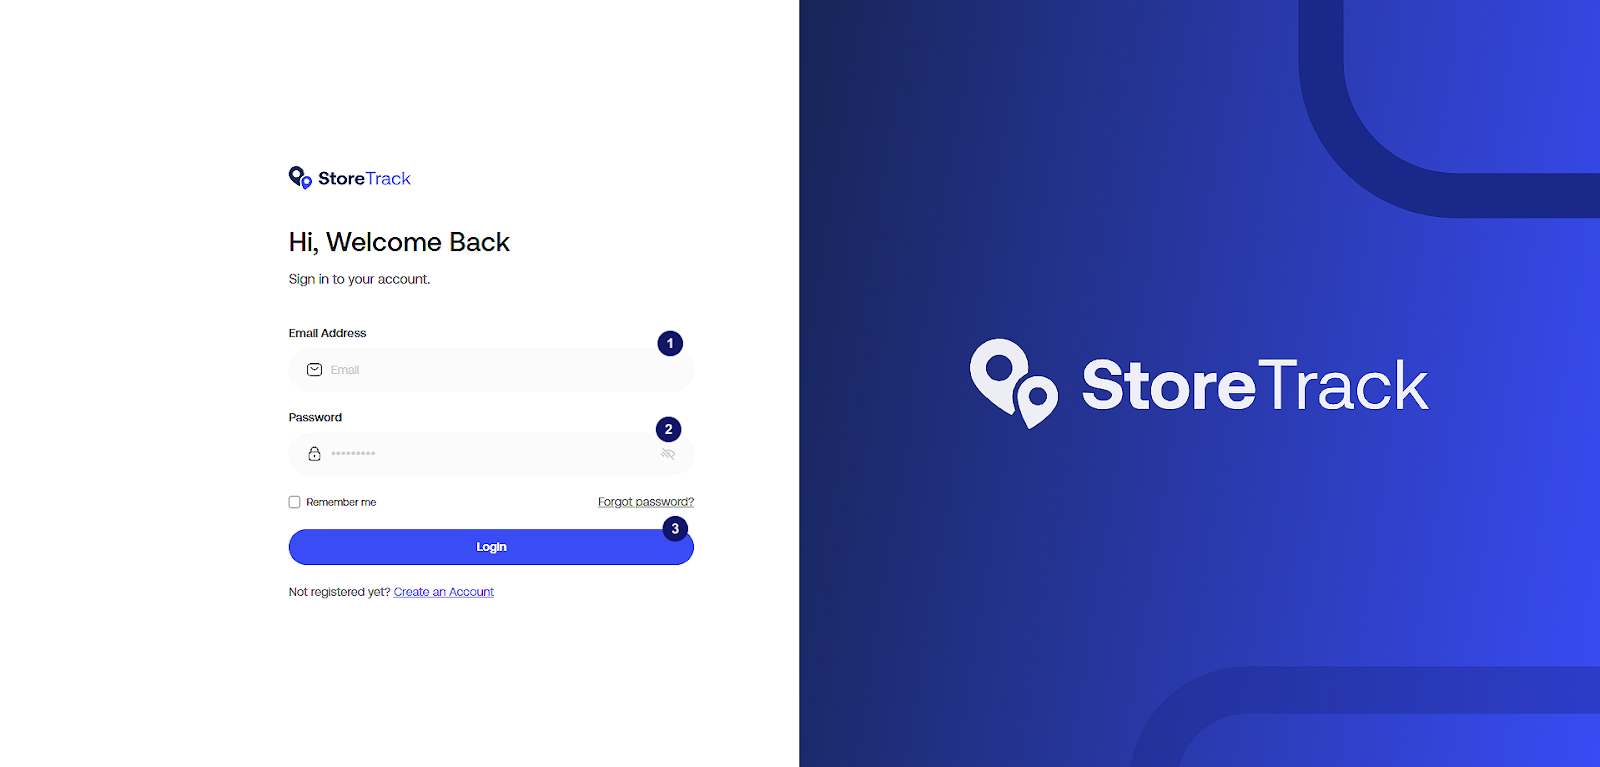
Step 2: Log Into StoreTrack
- On the login screen, enter your email.
- Enter your password.
- Click on the Login button.
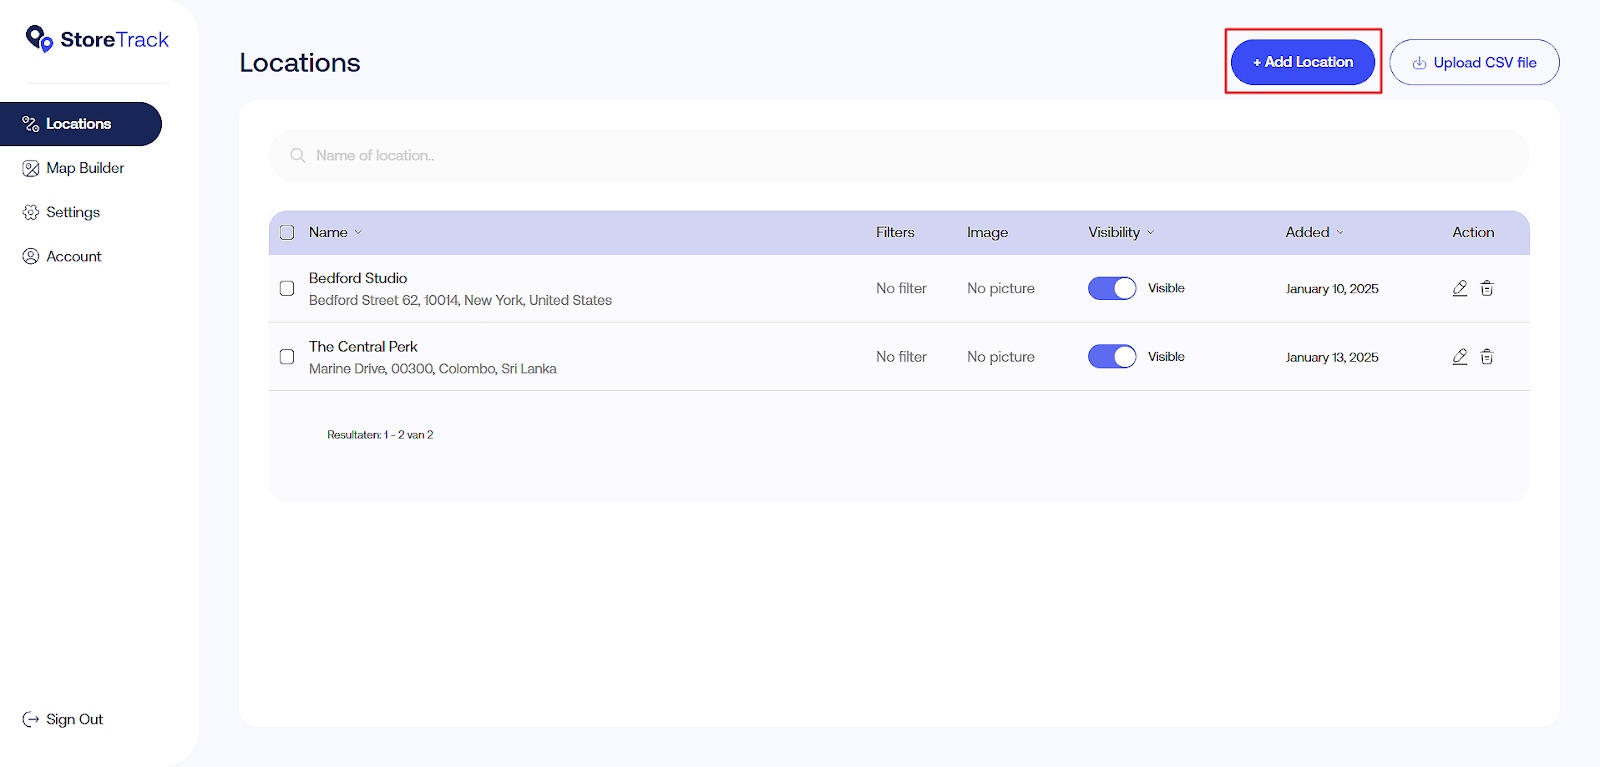
Step 3: Add Locations to the Locator
To add locations, you have two options:
- Add locations manually.
- Add locations in bulk as CSV files.

You can use whatever option you like. Here, we’ll cover adding locations manually.
- Click on the Add Location button.
- Enter the name of the location under Smart Search.
- Select the location from the options list.
- Click Add Location.
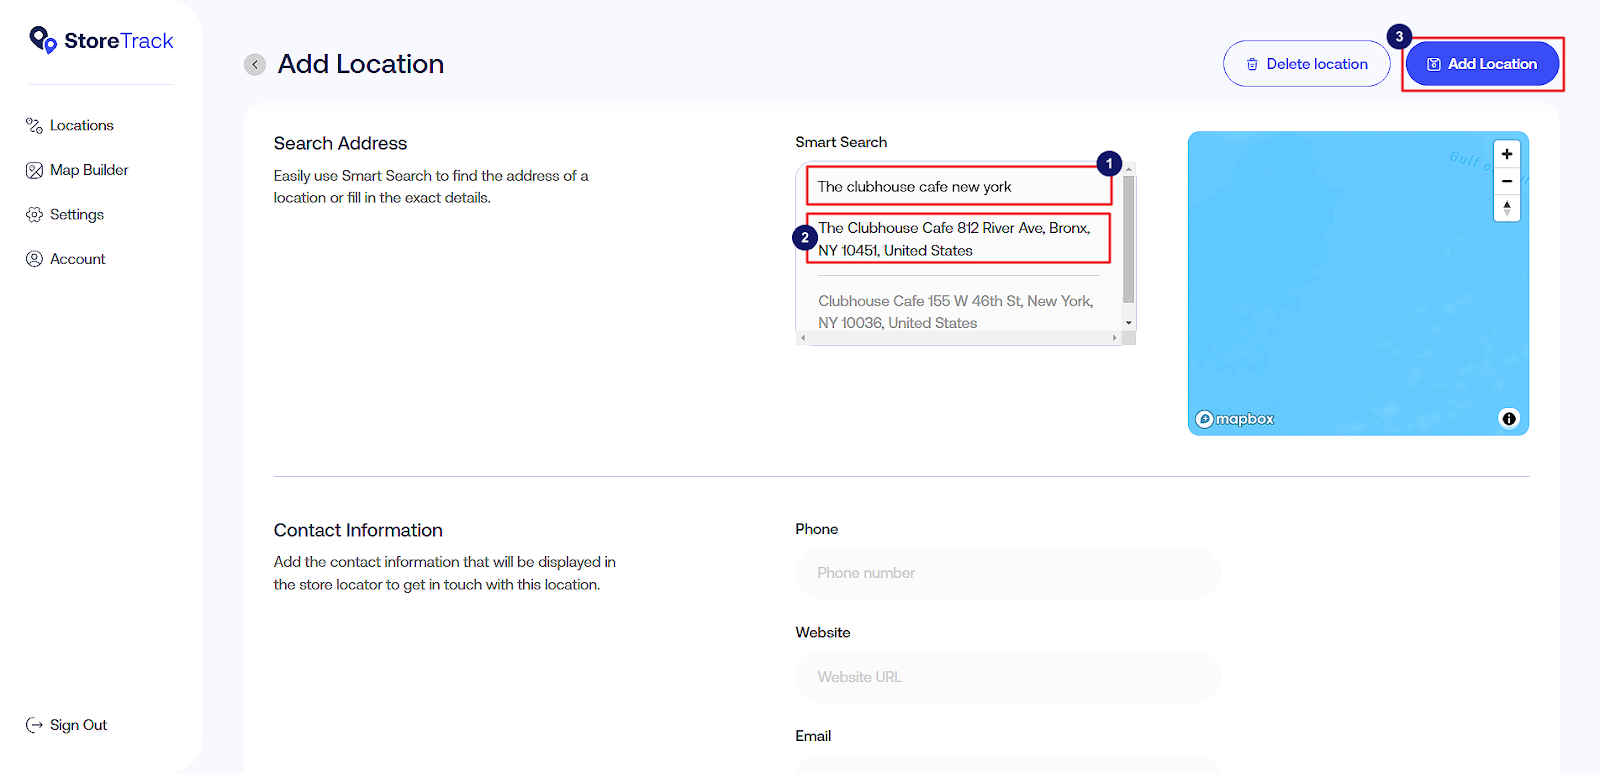
Note: You can also add the contact information, cover image, opening hours, filters, and social media information.
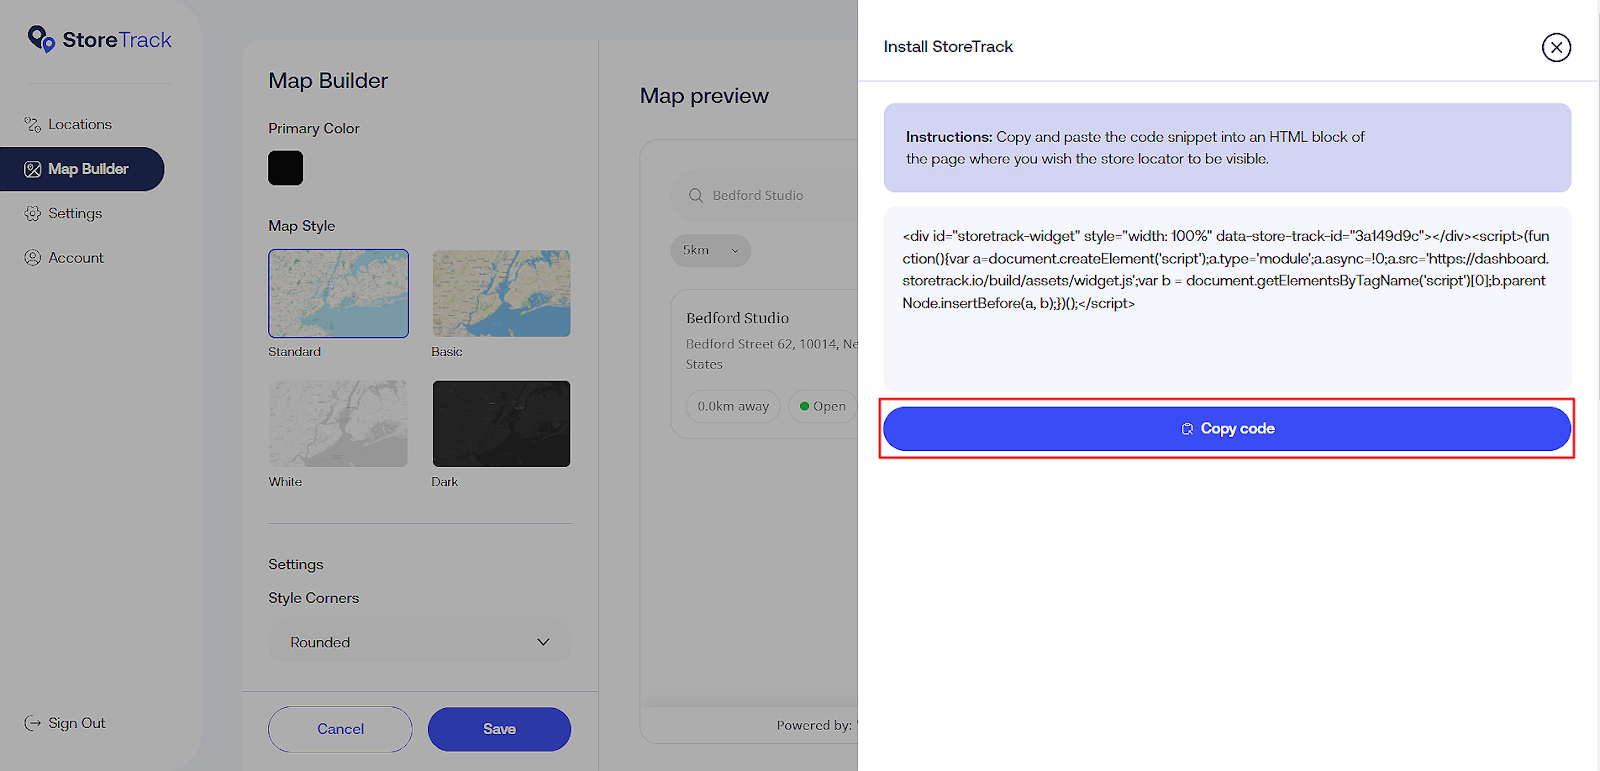
Step 4: Copy Embed Code
- Go to Map Builder.
- Select a location to view under the map.
- Click on the Embed Code button.

- Click on Copy Code.
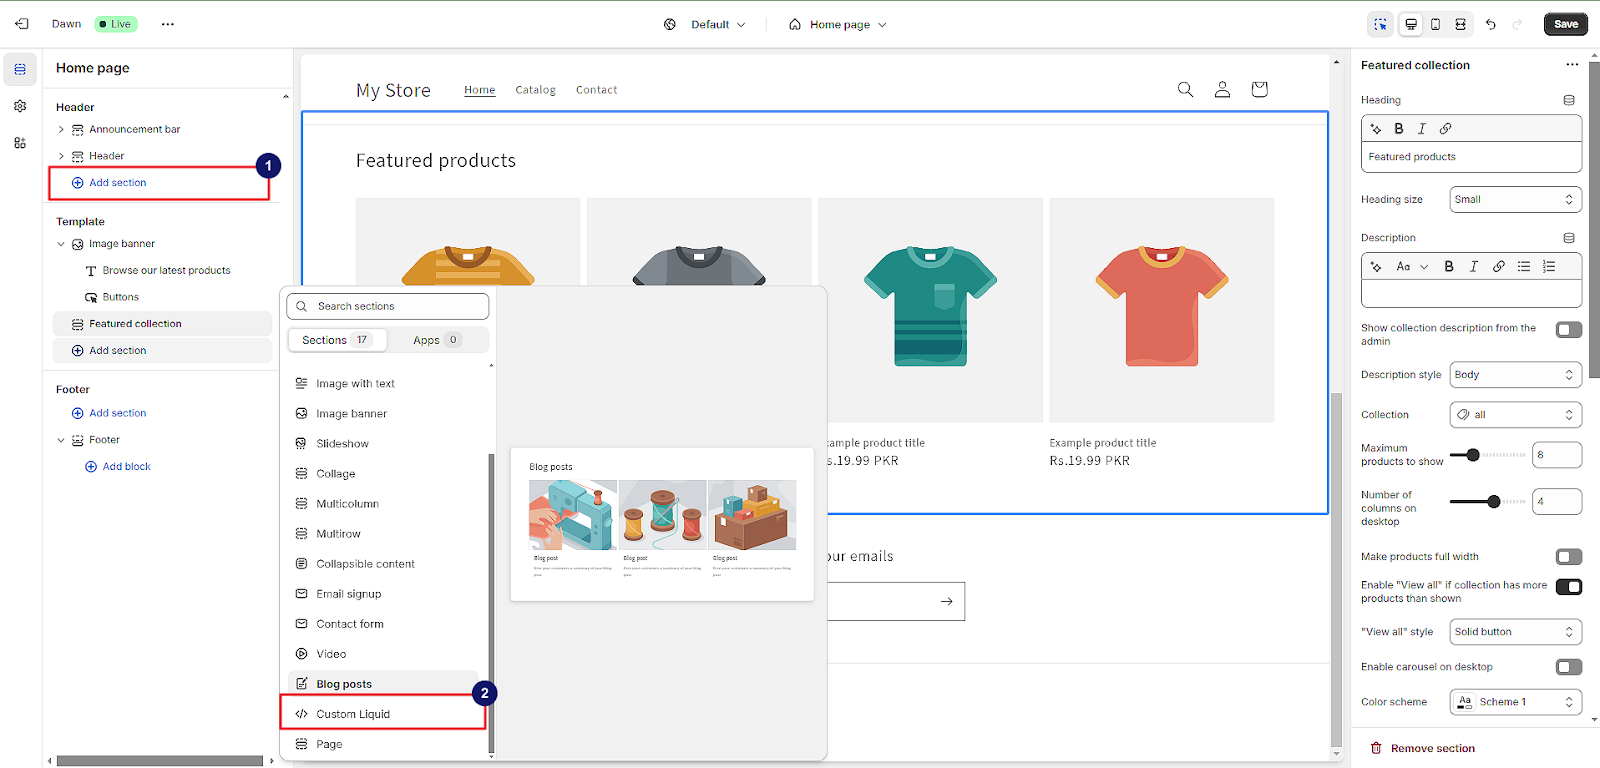
Step 5: Integrate Your Store Locator to Shopify
- Go to the page where you want to insert your store locator into your Shopify site.
- Under Template, click on Add Section.
- Select Custom Liquid.
- Paste the copied embed code under the Liquid Code textarea.
- Click Save.
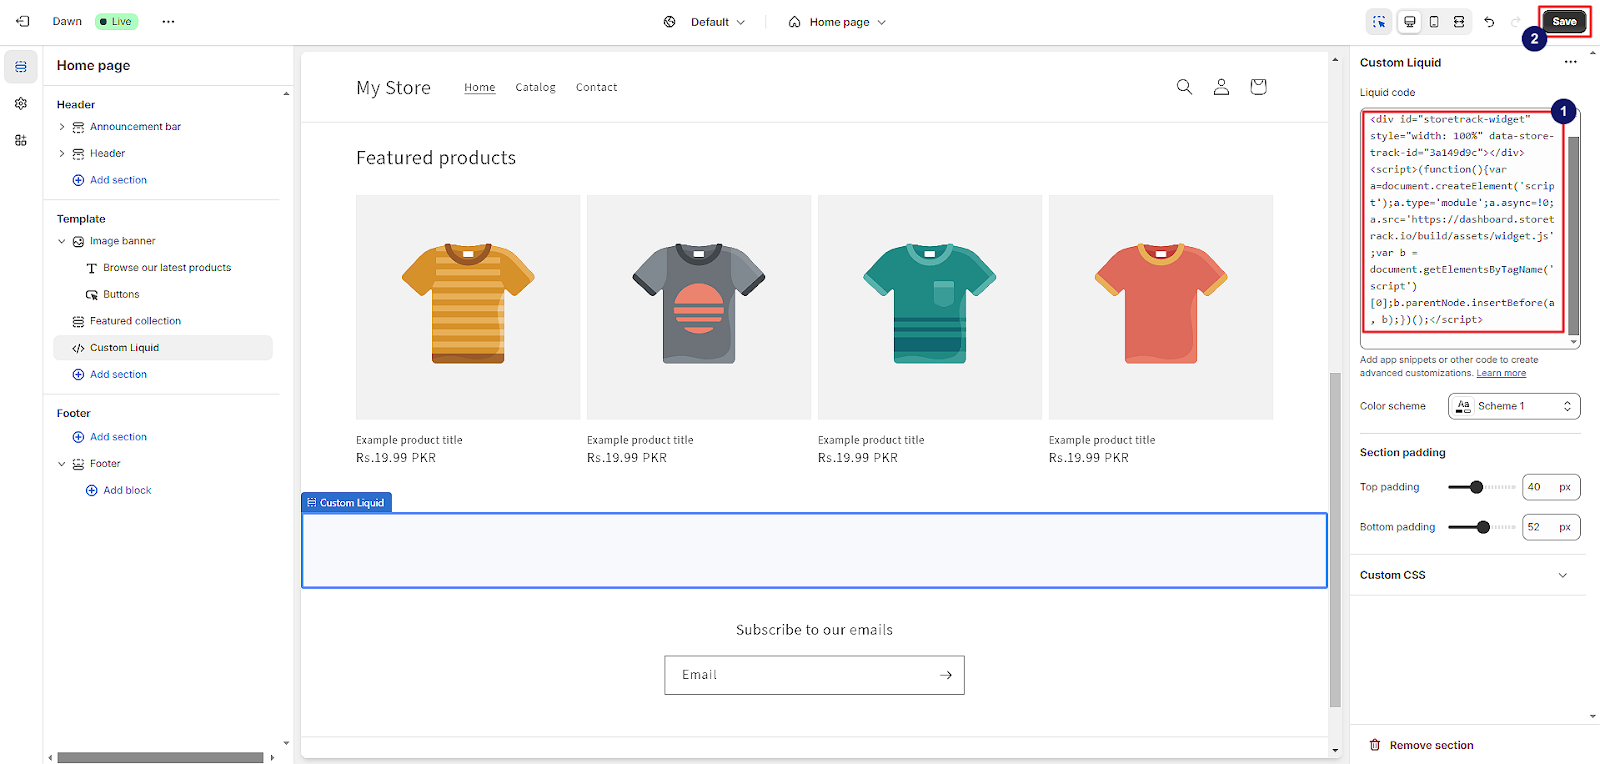
The map will appear on your Shopify site in the chosen location.


